This page is designed to give you a detailed overview of what features and information you can find in the Boarding Report.
-
Click on EVENT SCHEDULE in the main menu.
-
Note: As an alternative, you can also access the same Boarding Report directly via the Reports section under the Operations Reports.
-
-
Enter the Start Date and End Rate you want to check for availability.
-
Using the magnifying glass, you can search for a specific experience to narrow your search.
-
Click on the Experience that you want to book the guest on.
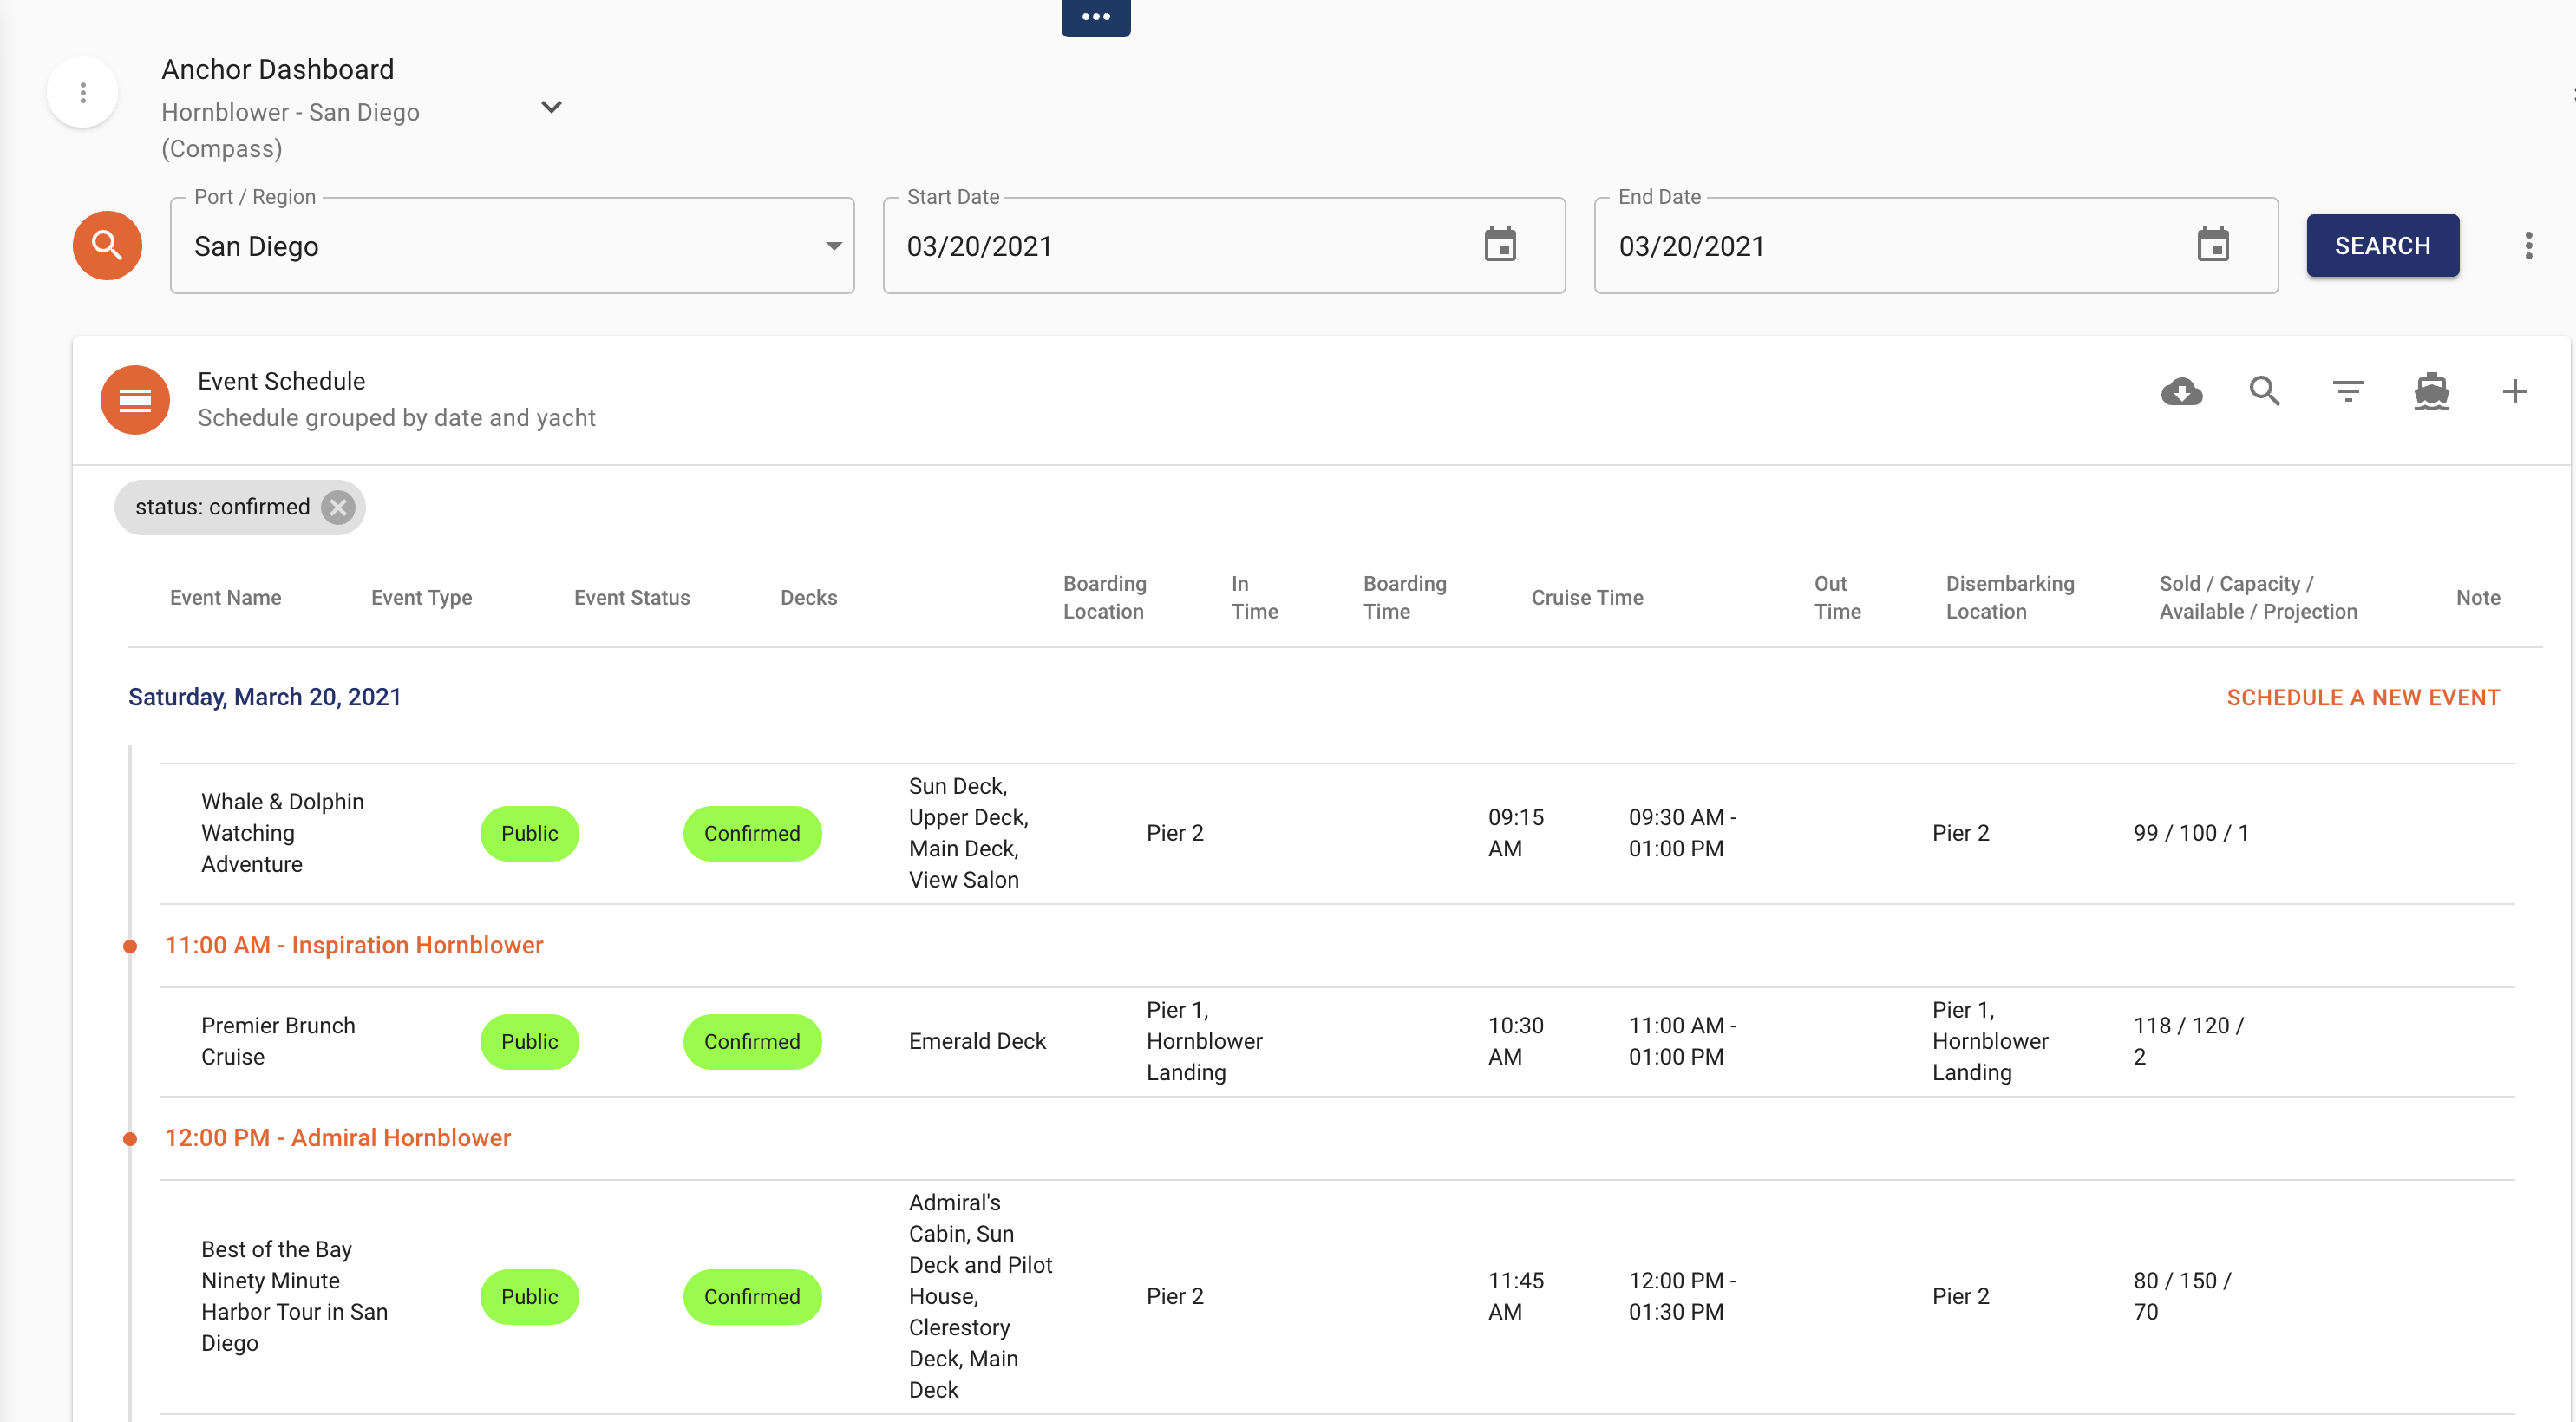 Click on the Event that you want to see.
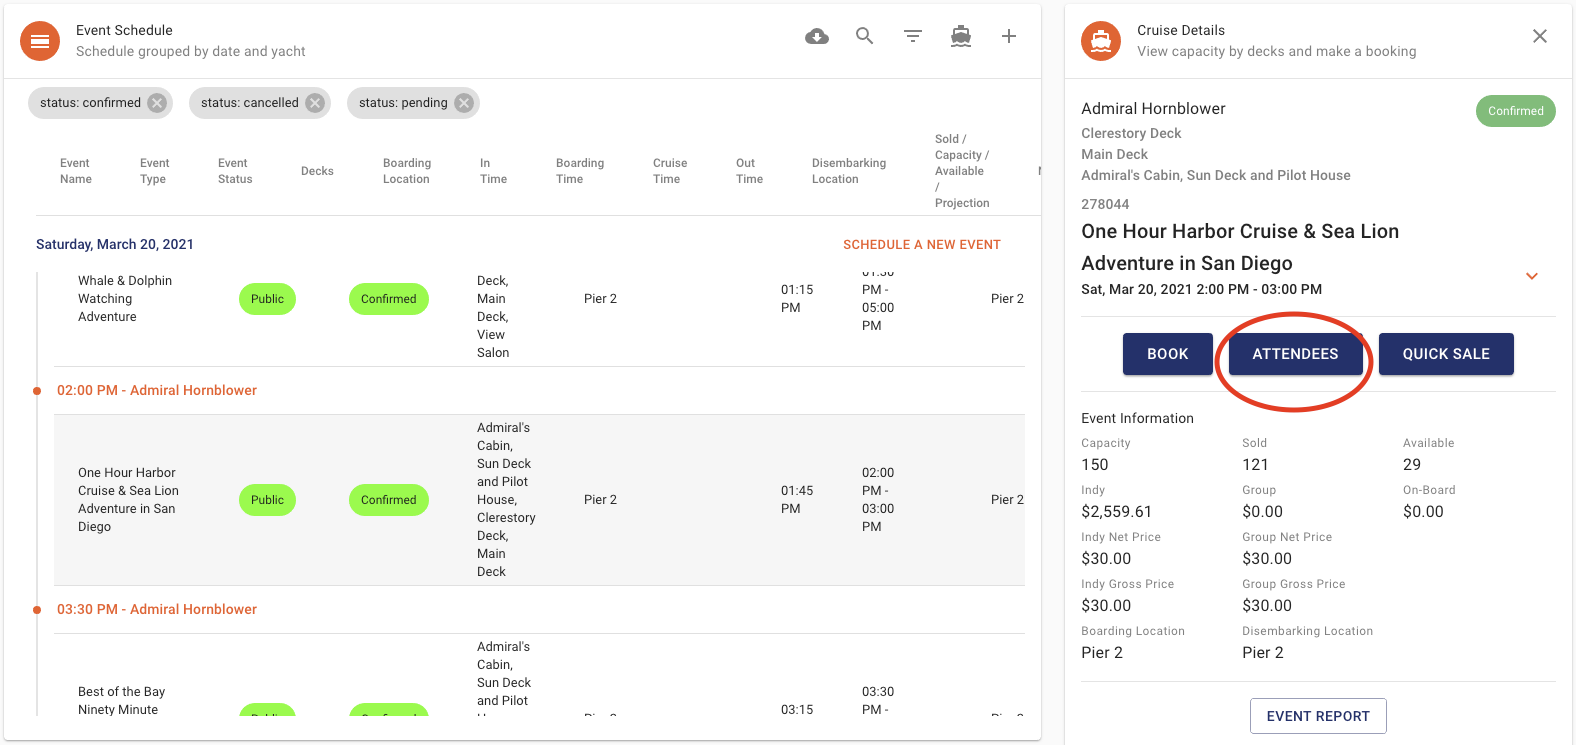
- Click on ATTENDEES and the Boarding report will open.
-
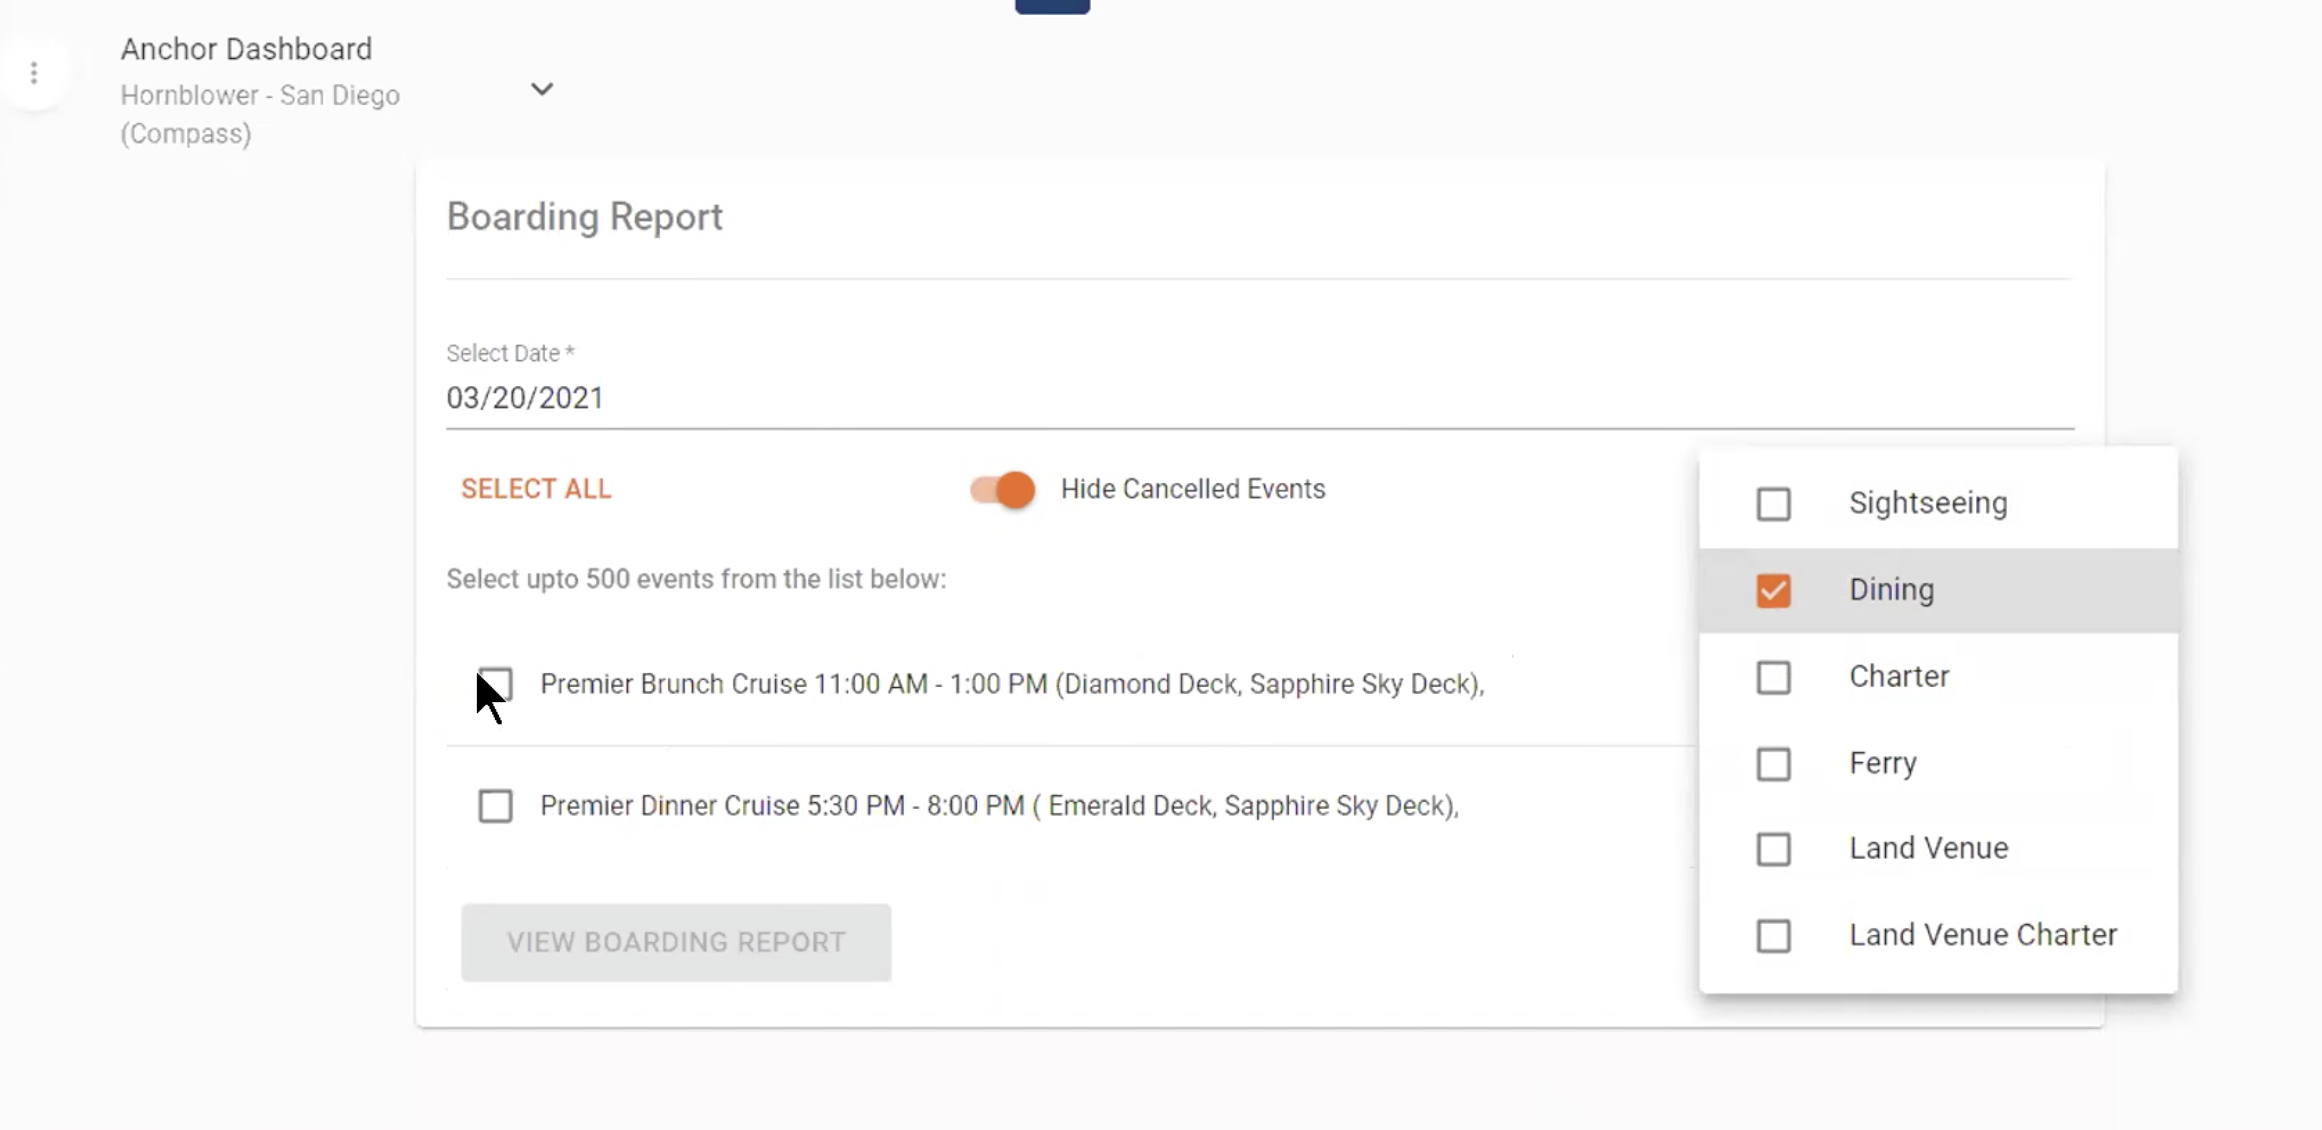
When you are on the Boarding Report, simply toggle on the Hide Cancelled Events button and it will show only Confirmed and Tentative events.

-
All cruises on the date you selected will open. Filter by cruise type to narrow down your results then click VIEW BOARDING REPORT.
-
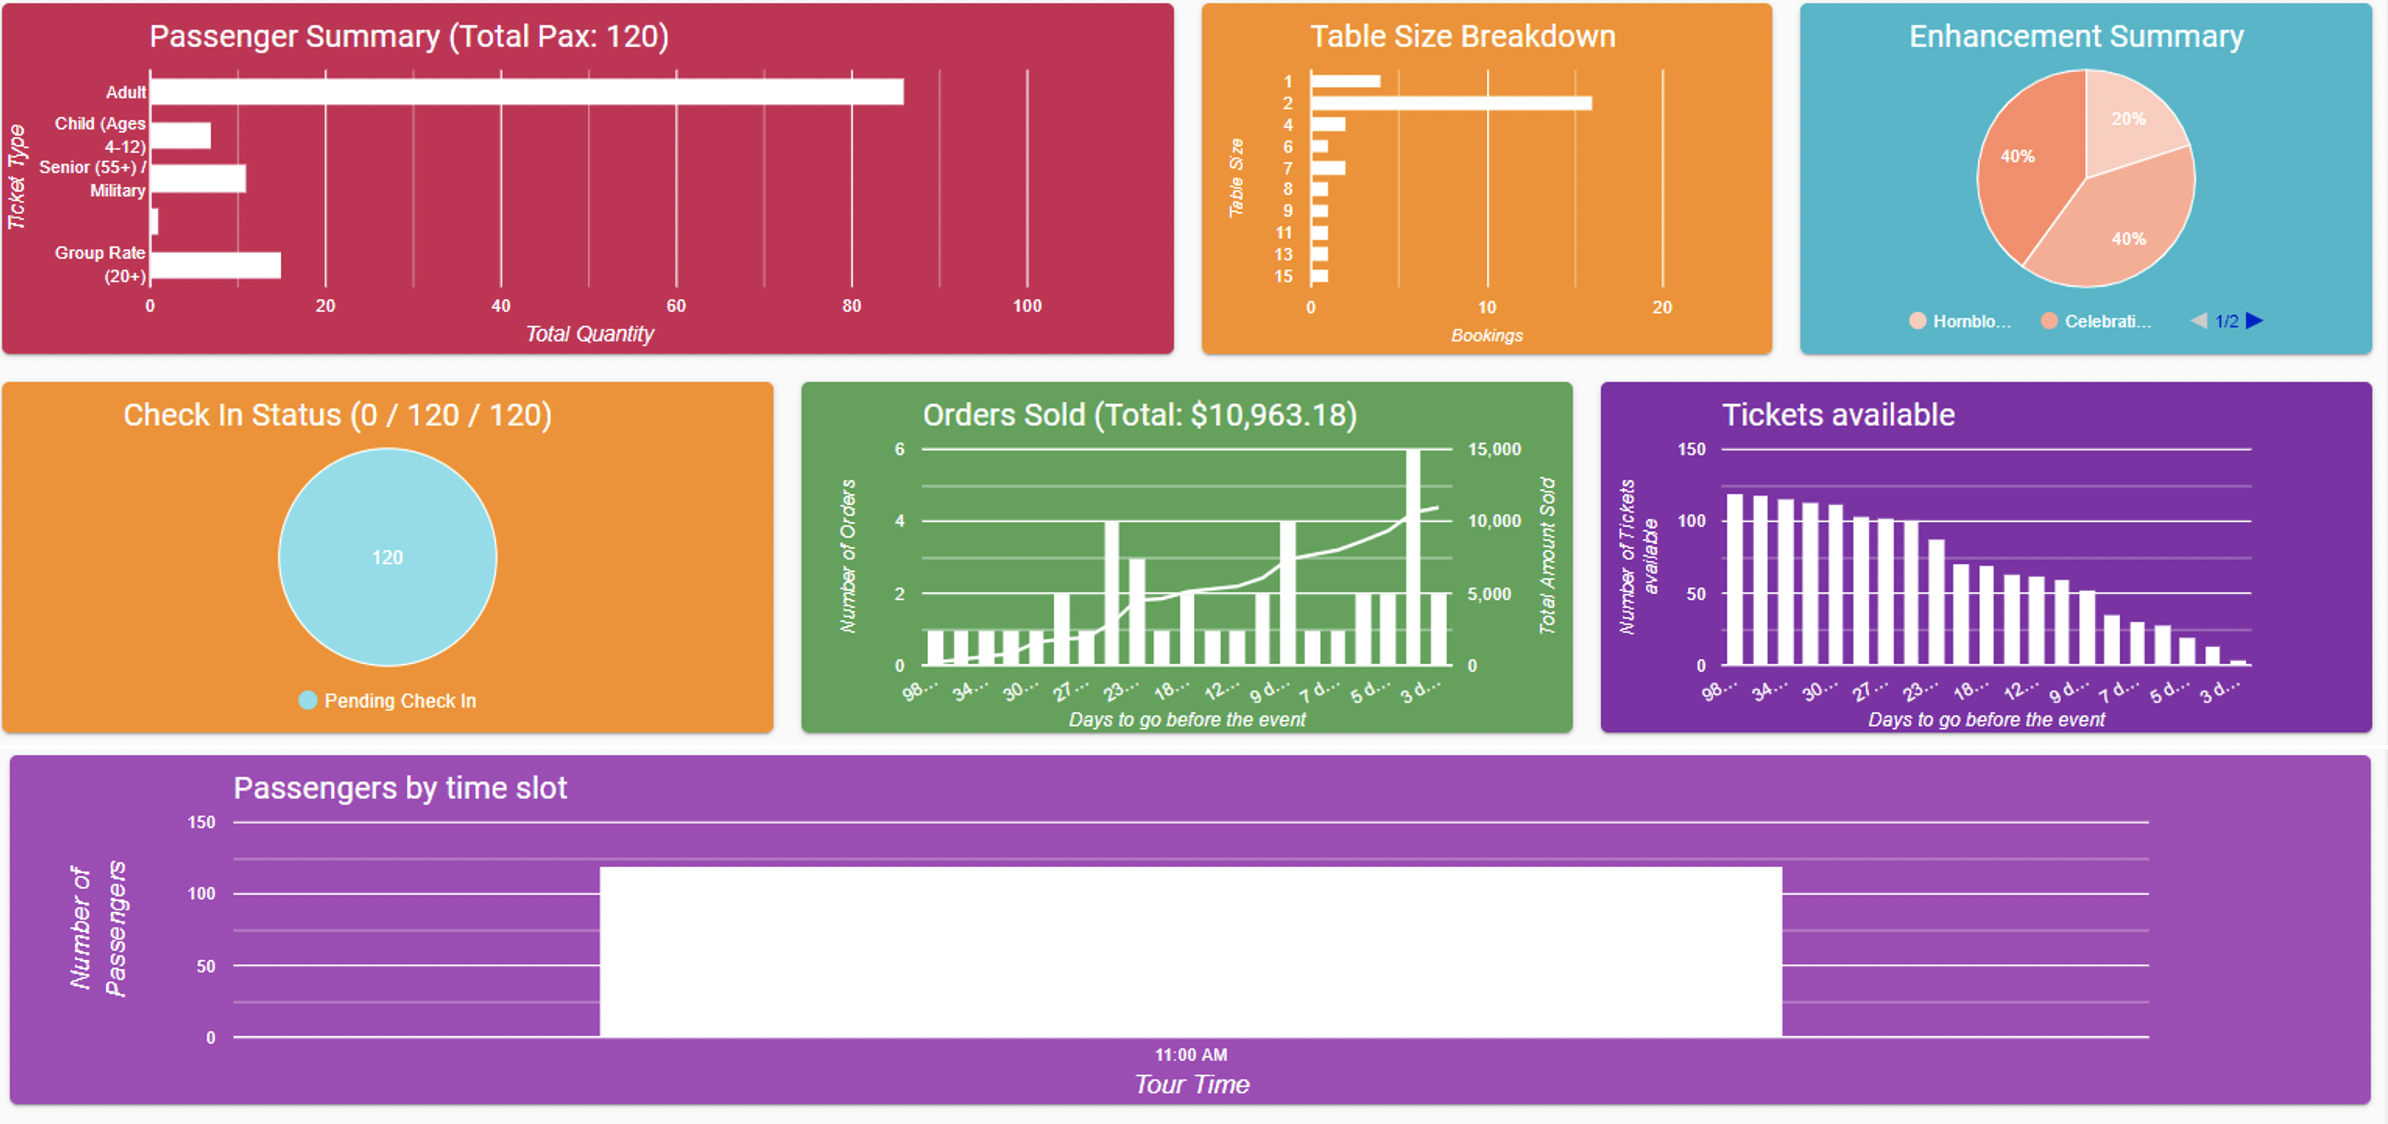
The top of the boarding report shows you a dashboard that will help you get a good picture of what your event is comprised of at a quick glance:
-
After the Boarding Report opens, scroll down the page below the dashboard and you will see the list of Attendees.
-
If you want to search for a specific guests you and use the Search Bookings field.

-
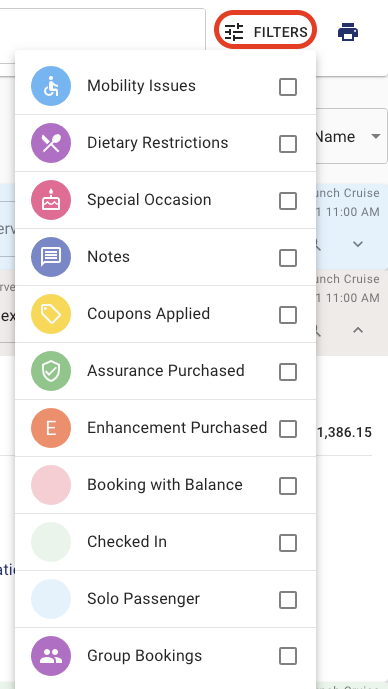
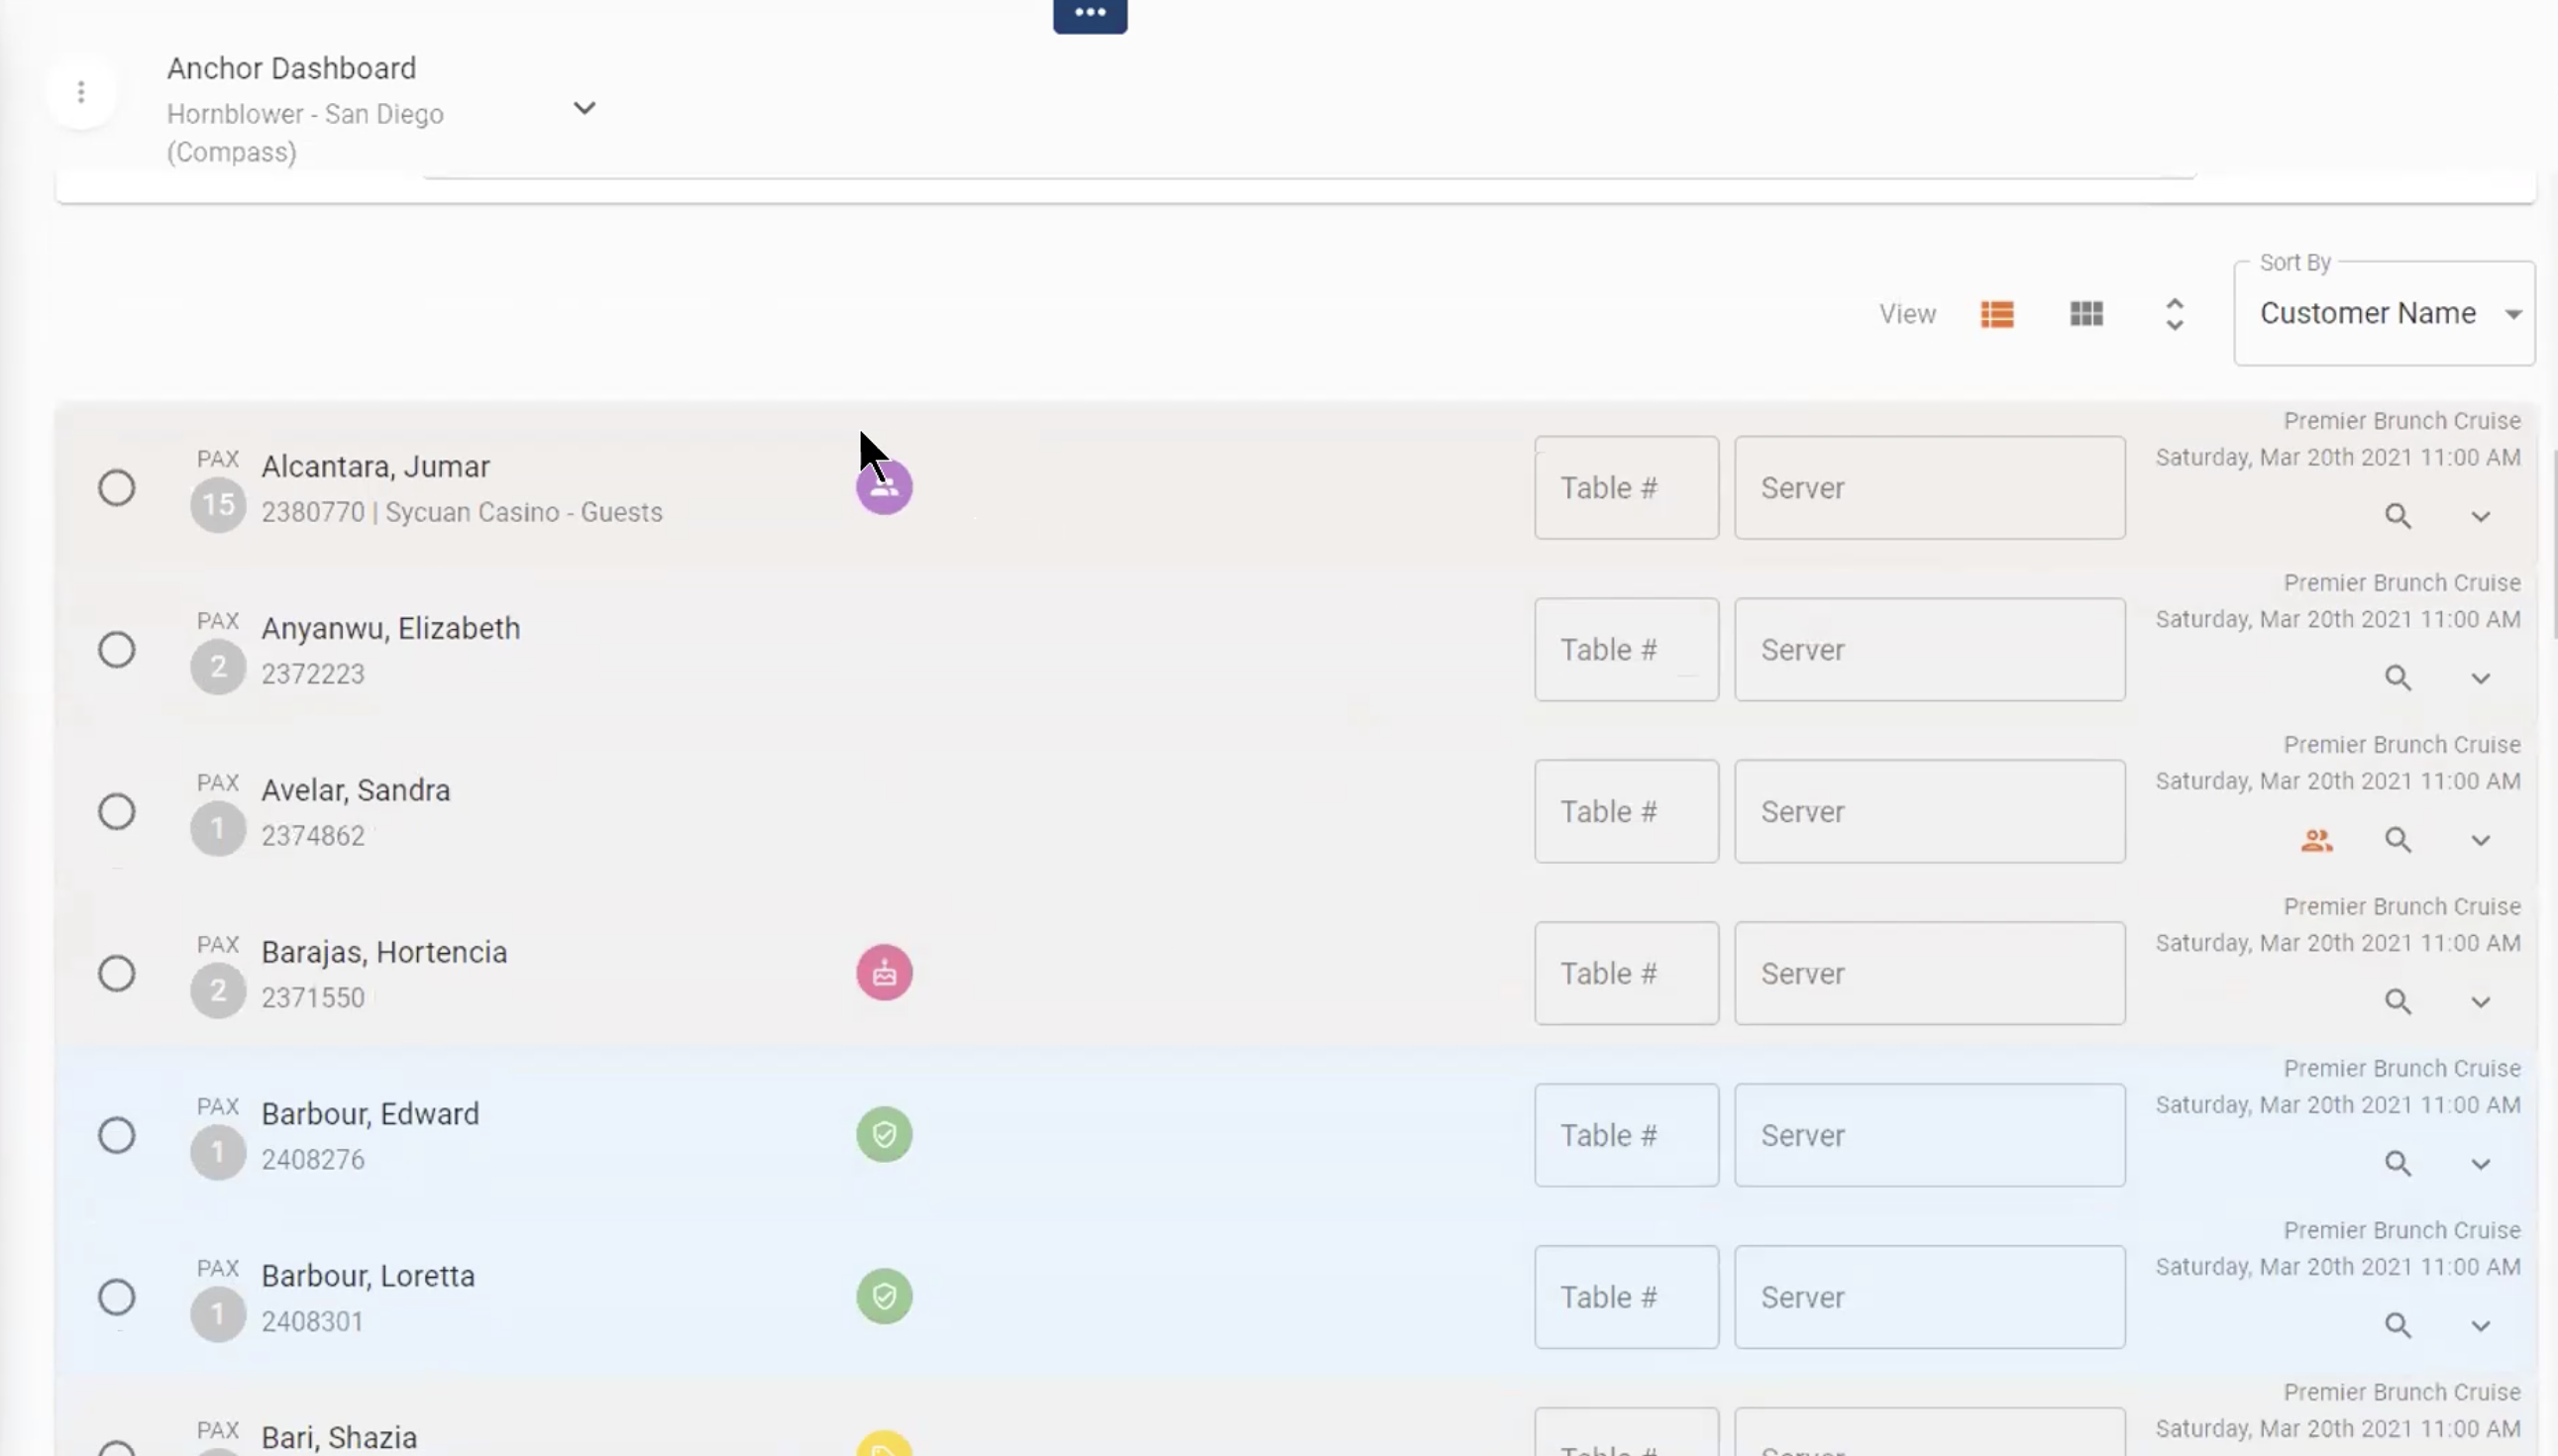
If you wish to filter the bookings to see only the Mobility Requests, Dietary Restrictions or Special Occasions, etc. Click on the FILTERS on the top right next to the Search Field and check the boxes that for the bookings that you want to view.
-
Each individual line shows you information about the booking. If you click on the arrow to the right of the booking it will expand to show you full details about the reservation.

-
If you wish to expand ALL Bookings to see the details you can click on the double arrow on the right side.

-
You can assign the tables and the servers on this page for all bookings. This information will immediately update in both the Cruise Details Report and the Attendees Report.

-
You can sort the Attendees list in multiple ways. On the right click the Sort By box and a drop down will appear allowing you to filter by Customer Name, Booking Date, Table Number and Sever. Simply select the filter you want to apply and the list will automatically filter.

-
If you see a booking that is highlighted in RED or has Balance: – $ below the name this indicates that there is a balance due on the booking.

-
If you see a booking highlighted in BLUE, like the booking below, this indicates that the guest is a solo traveller and they may potentially be traveling with another party on the same event. This particularly helpful for Dining Cruises where guests are assigned tables. Often these solo guests are planning to join a larger group on the same event so you can proactively reach out to the guest prior to the event to make sure that they are combined to the group if needed.

-
If an order wants to sit with another order and they have already linked reservations, you will see this on their reservation:

-
Clicking on the bubble in front of the pax count opens up this banner that allows you more options. You can select multiple bookings if you wish to do a bulk update.
-
From the banner you can choose the following features;
-
Check-in the selected booking/s.
-
Email the bookinds
-
Text Message the bookings
-
Assign a table
-
Assign a Server
-
Add Internal notes to all selected bookings
-
Send a Confirmation email
-
Partially Check-in an order
-
-
Click on the option that you want to select and

If you want to print the Boarding Report simply click on the printer icon next
