First thing you need to do when building a new Experience to sell on the website, is to create a Tour Page in Anchor for the new product. This document will show you step by step how to set up a new Tour Page to ensure that your new Experience looks and reads great on the Website. Your Event Builds are also directly connected to the Tour Pages and can control aspects of your booking flow.
Instructions
-
Click on Tours in the left side bar
-
Click ADD A NEW TOUR

NOTE: All fields with * next to them are required fields. If there is no * then the field is optional.
-
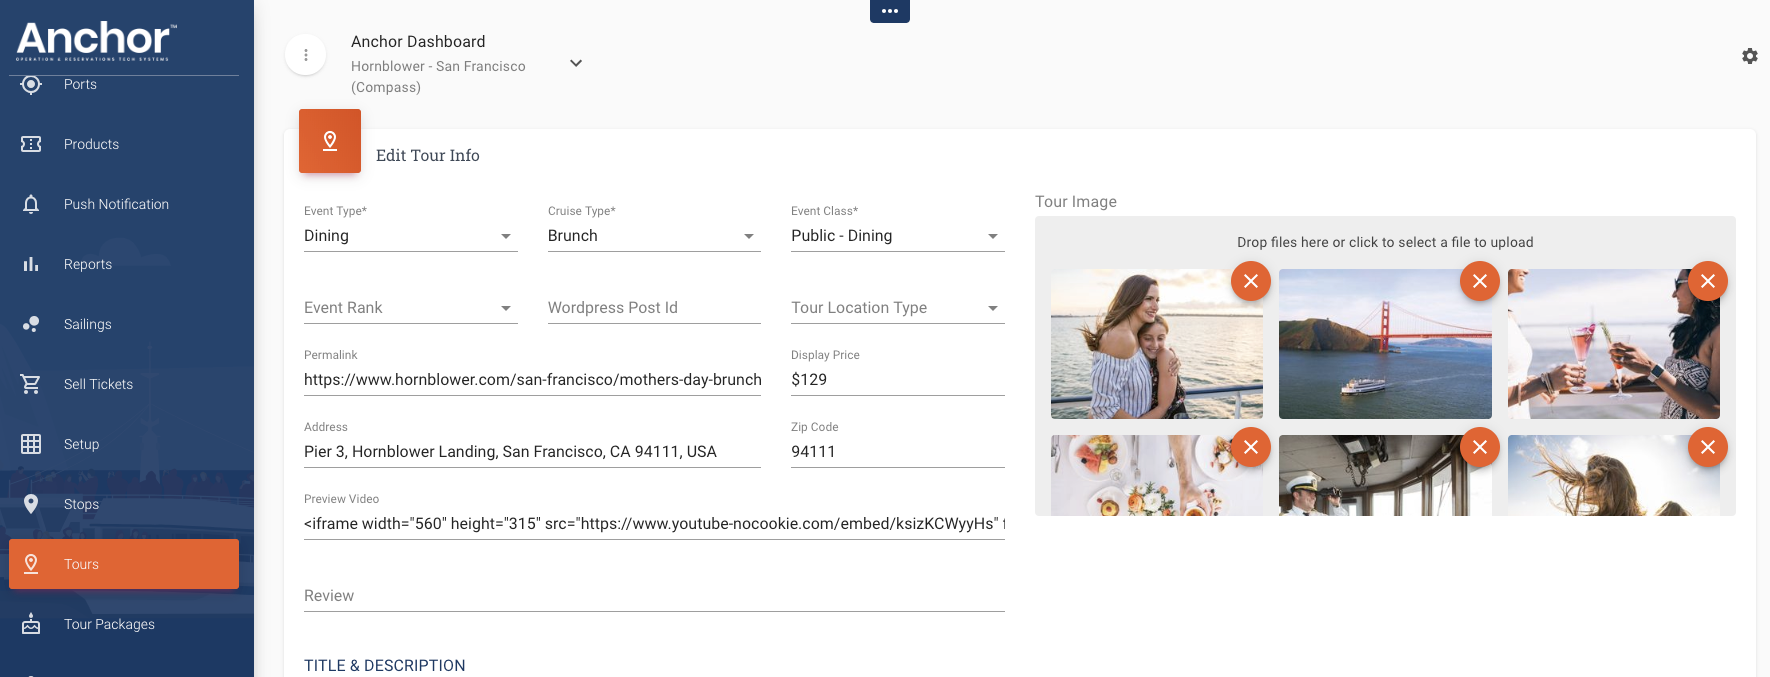
In the EDIT TOUR INFO section select the appropriate reporting categories for your Experience
-
Select the Event Type from the drop-down ** Please Note – This field will connect to your Setup for which GL accounts this event will report to. If you are unsure, please check with your builder.
-
Select the Cruise Type from the drop-down
-
Select Event Class from the drop-down
-
Select Event Rank from the drop-down if applicable
-
-
The Permalink section will be completed by the Web Developer. This is the custom URL for the website.
-
Add Display Price which will be your “starting from Price” that will be displayed on the event’s thumbnail.
-
In the Address section, add the Google Maps Street Address for the meeting point along with the zip code. This is the address which will pull into your guest’s email confirmations.
-
If you wish to display a video hosted on Youtube on your listing, you can add the link to the video in the Preview Video field.

-
In the TITLE & DESCRIPTION section add the following information
-
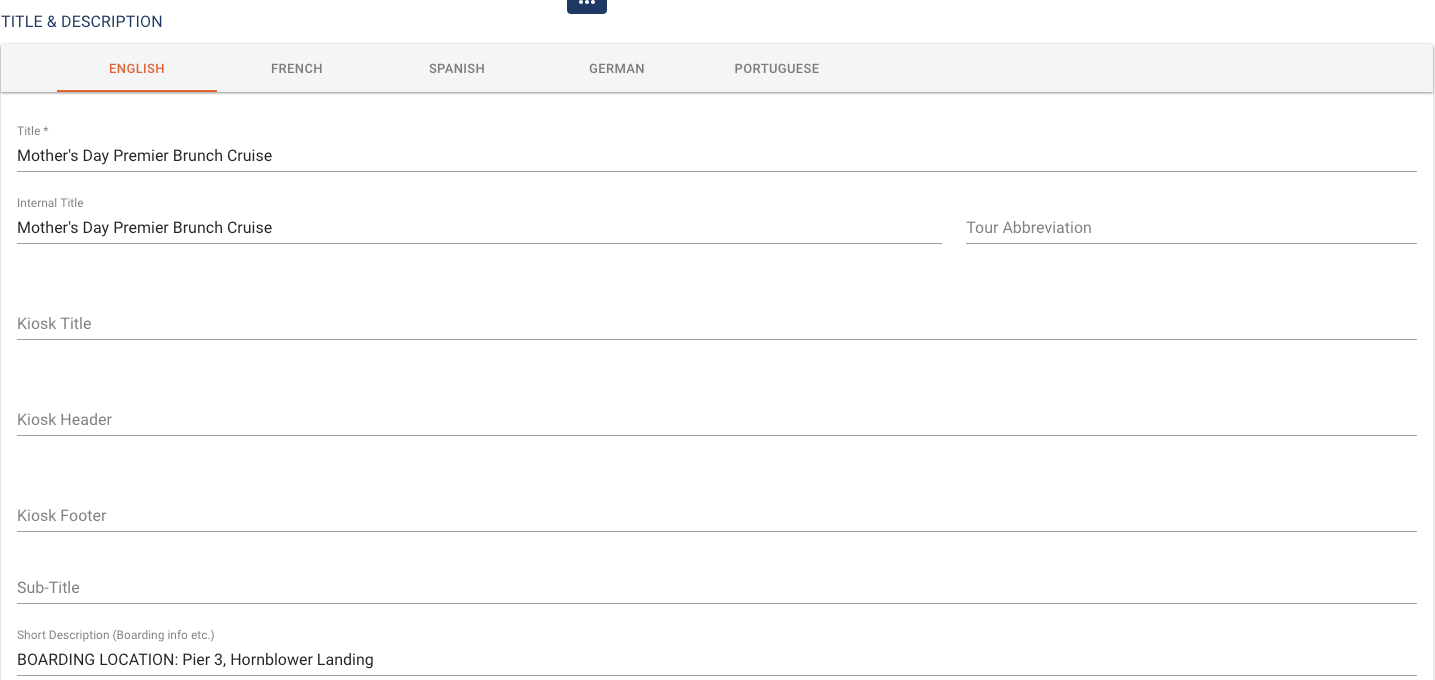
Title – Name of the Experience to be displayed on the Website & guest confirmations
-
Internal Title – If you have a different title used internally for the same product you can add it here. If you update this title it will be the title showing in the Box Office view.
-
Short Description – Mini description that can display under the image on the website and this can also be displayed on the email confirmation.
-
-
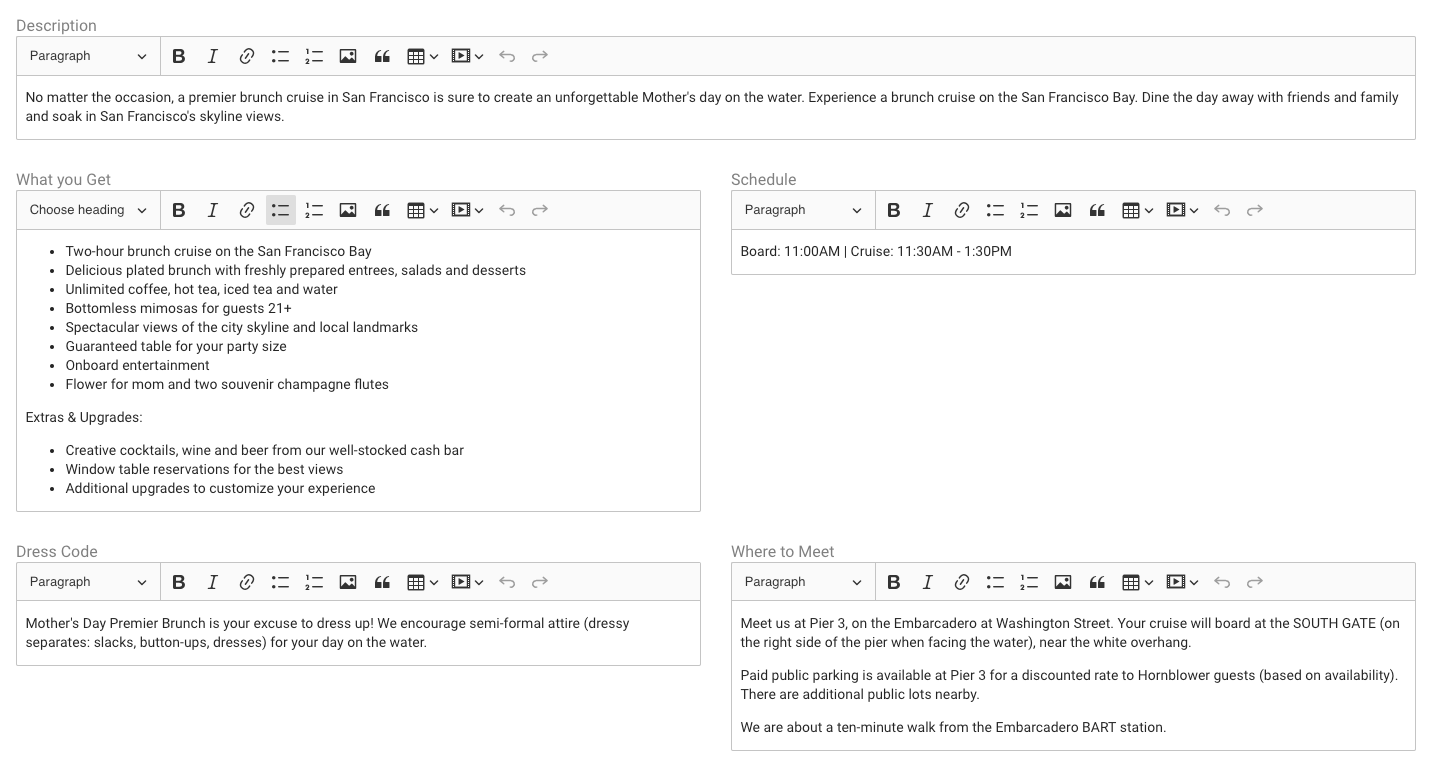
Description – This description provides a short summary of the Experience. This text will display under the label OVERVIEW title on the City Experiences website
-
What you get – Add a bullet point list of what is included in the price of the Experience.
-
Schedule – Enter the standard start/finish times of the Experience.
-
Dress Code – If you have a dress code you can add the information in this field.
-
Where to Meet – Add any parking or directions on how to get to the departure point.
-
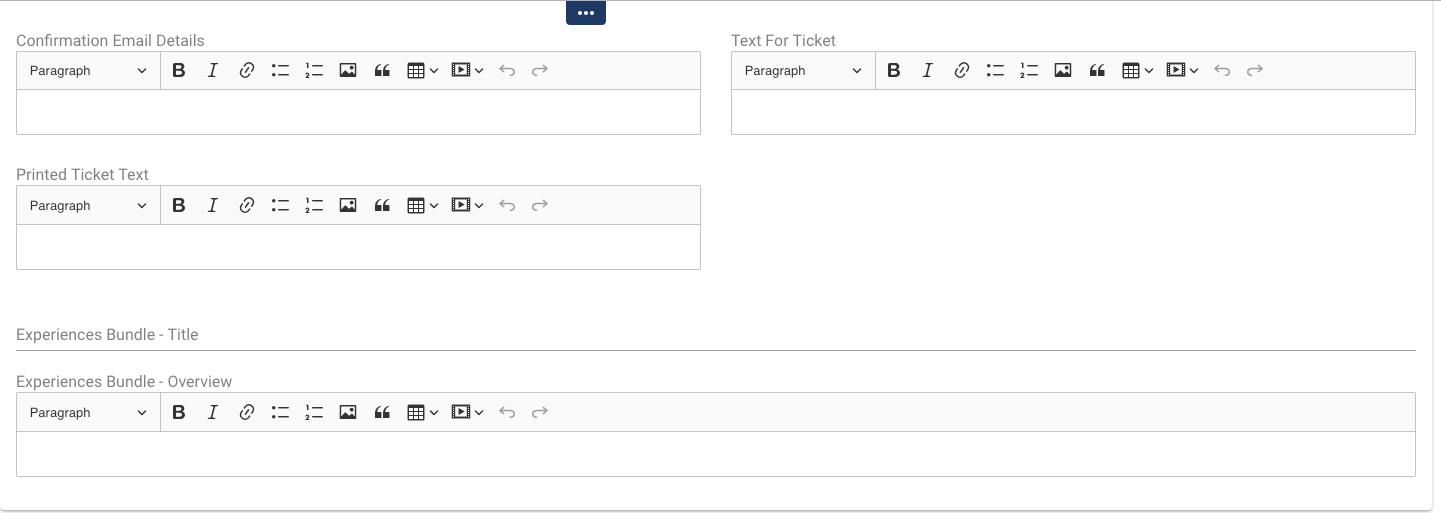
Confirmation Email Details – If you have specific instructions for this Experience that you want to add to the confirmation you can enter it here. – Such as traffic alerts on certain holidays, etc.. – (Note: this will only appear on the Email Confirmations not the text confirmations)
-
TICKET SCANNING RULES – (Optional) if you have any special scanning rules pertaining to tickets on this tour such as how many days/minutes before or after an event the ticket can be scanned. If you want to cap the number of scans per ticket you can also add that information here. Scans default to 1.

-
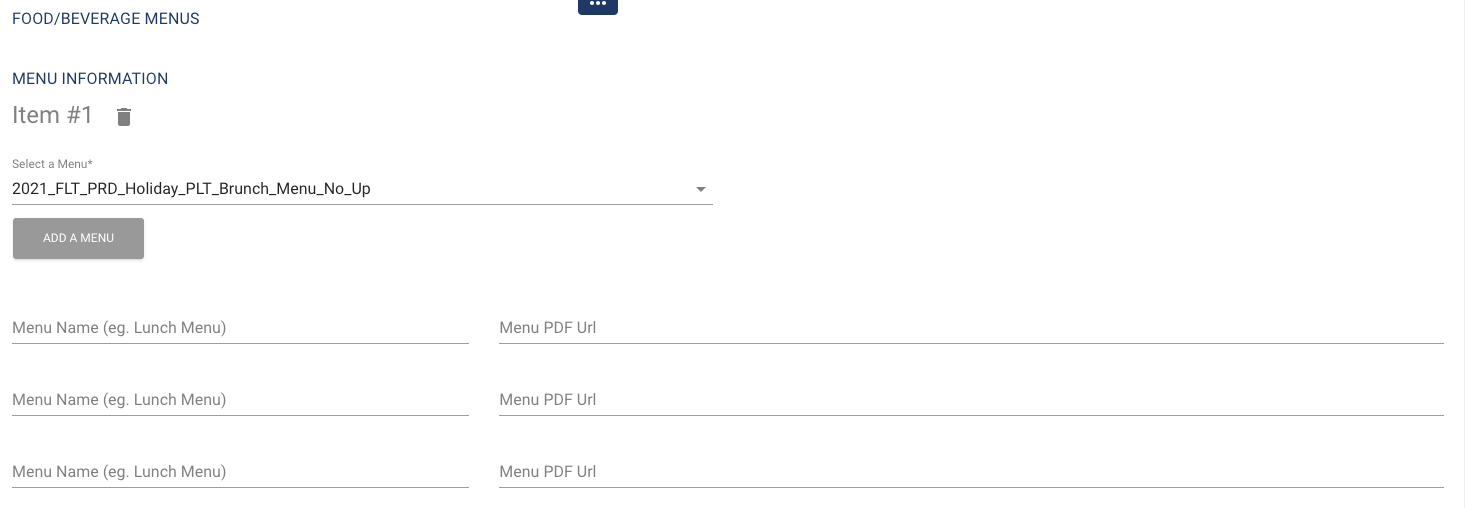
FOOD & BEVERAGE MENUS – If you have a food or wine menus added to Anchor that is associated with this event and you want to display it on the Experience page, you can click ADD MENU and select the menu that you want to attach.
-
EVENT CATEGORIES – By adding labels to this section you are able to link the Experience to multiple categories on the WordPress website, not just one category. Check what label categories are used on your site before updating this section.

ADDITIONAL SETTINGS
-
THIRD PARTY MAPPING – Using the toggle buttons, switch on the options that you wish to activate or deactivate. Work with Encore team for API and Third Party Settings.
-
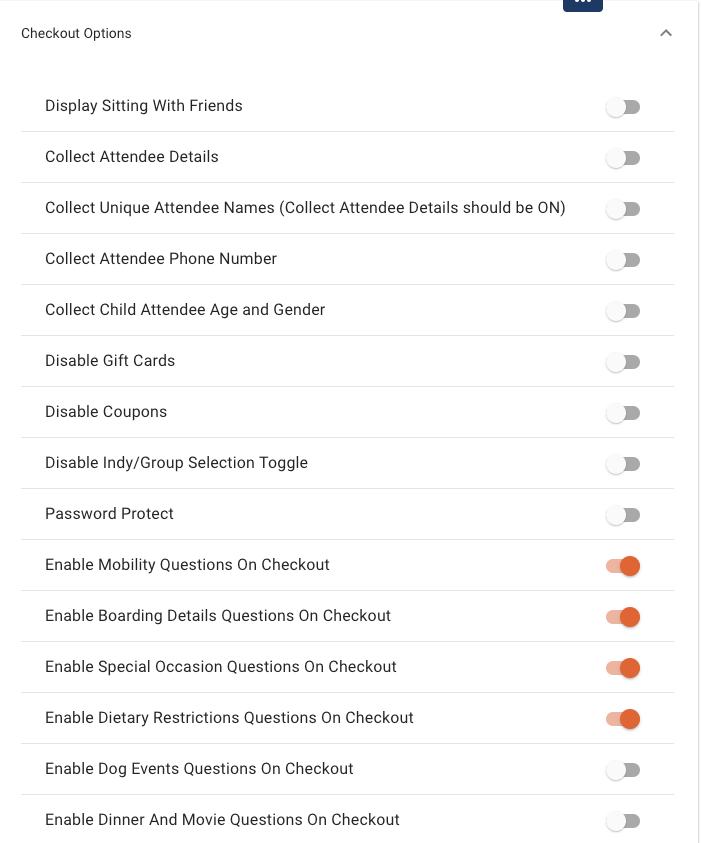
CHECKOUT OPTIONS – Using the toggle buttons, switch on the options that you wish to activate or deactivate in the checkout flow.
-
-
Display Sitting With Friends – Allow guest to combine orders with friends so that they are sitting together.
-
Collect Attendee Details – Collect the name of the guest in the case that it is different from the card holders name. This is used primarily for Vouchers.
-
Collect Unique Attendee Names (Collect Attendee Details should be ON) – Collect the names of all the guests in the group, not just the card holder.
-
Collect Attendee Phone Number – Collect the phone number of all guests in the group.
-
Collect Child Attendee Age and Gender – Created for a special event in the UK to collect age/gender/name of children
-
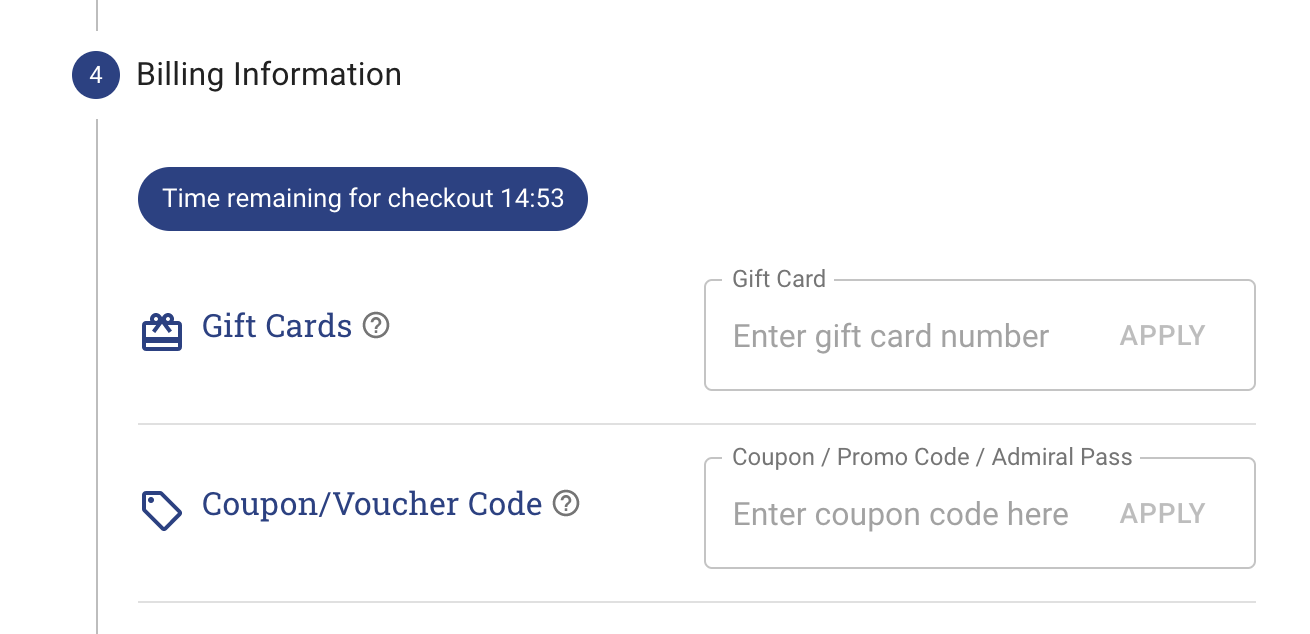
Disable Gift Cards – Activate this toggle to prevent Gift Cards from being used on the Experience by removing the box/option to type in the gift card numbers in checkout.
-
Disable Coupons – Activate this toggle to prevent discount coupons from being used by removing the box/option to type in the gift card numbers in checkout.
-
-
Disable Indy/Group Selection Toggle – Deactivates the INDY/GROUP option on the checkout flow
-
Password Protect – If you wish to add a Password to allow exclusive access to an Experience this will allow you to get up a unique Password.
-
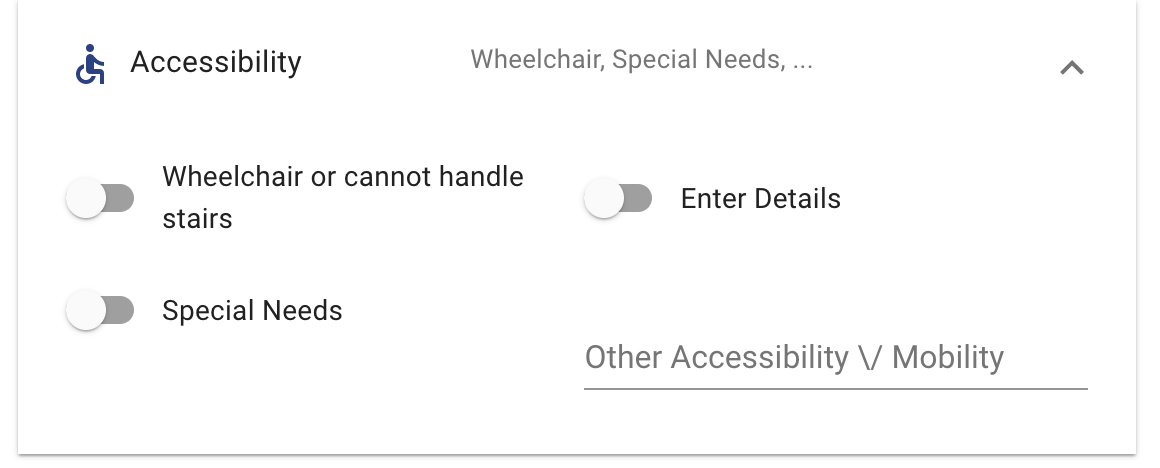
Enable Mobility Questions On Checkout – This will allow guests to alert the Guest Services & Operations team about any mobility issues prior to the day so that they can be prepared to help. This alert will appear on the boarding reports.
-
-
Enable Boarding Details Questions On Checkout – If the person participating in the event is different from the Credit Card Holder, the name of the actual guest can be added here. (Internal Only)

-
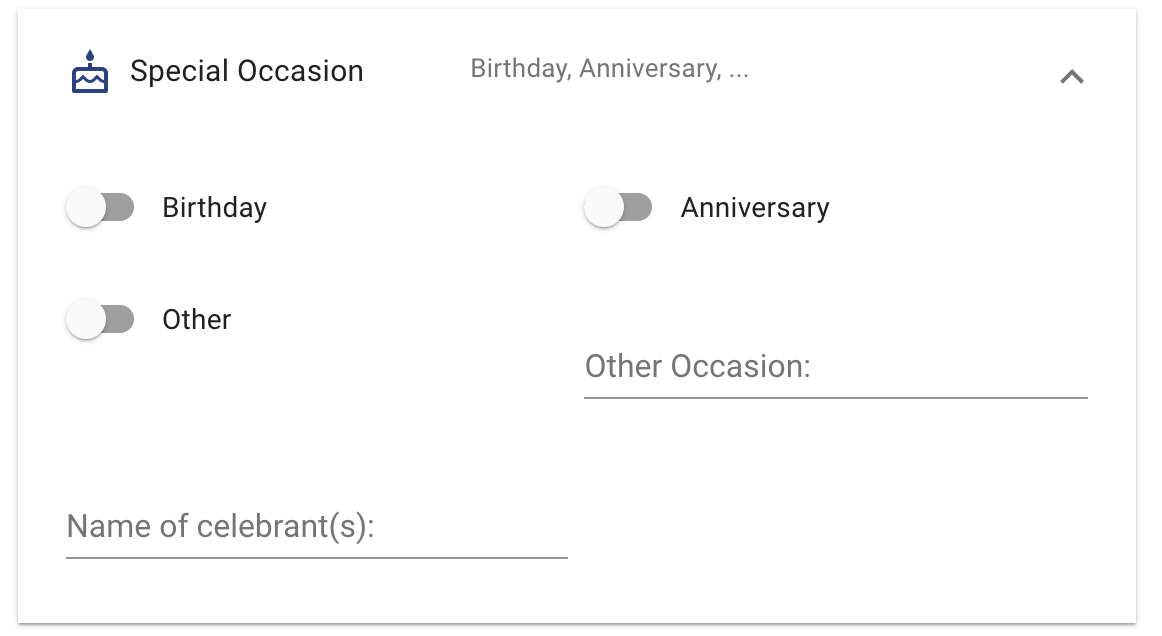
Enable Special Occasion Questions On Checkout – Guests can add any special occasion that they are celebrating and the team will be alerted on the day of the Experience and in boarding reports.
-
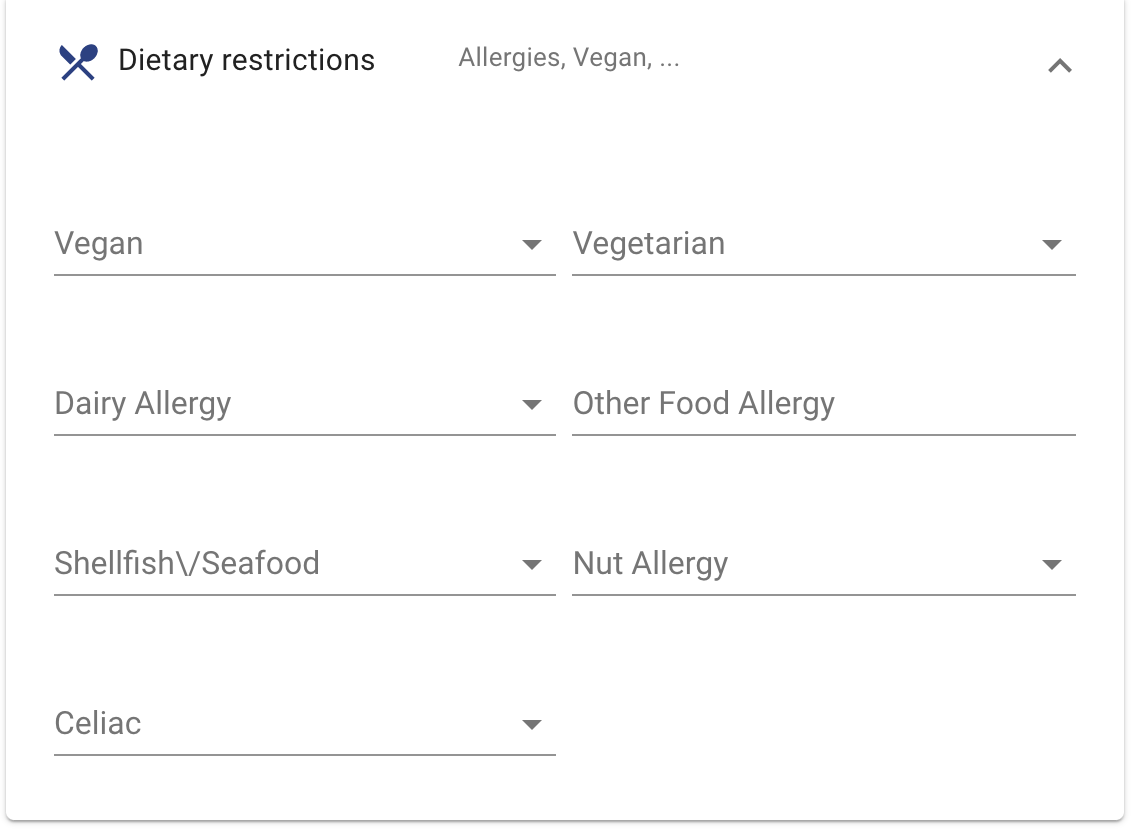
Enable Dietary Restrictions Questions On Checkout – Guest can add any dietary requirements to their booking during the checkout flow. This will alert the F&B staff to this special requirement to ensure that the guest is accommodated.
-
Enable Dog Events Questions On Checkout – This is only used for Dog Day on the Bay events to collect details of the dogs in each party – Such as breed, size/weight.
-
Enable Dinner And Movie Questions On Checkout – This is specific to Ports that offer dinner cruise + movie nights.
-
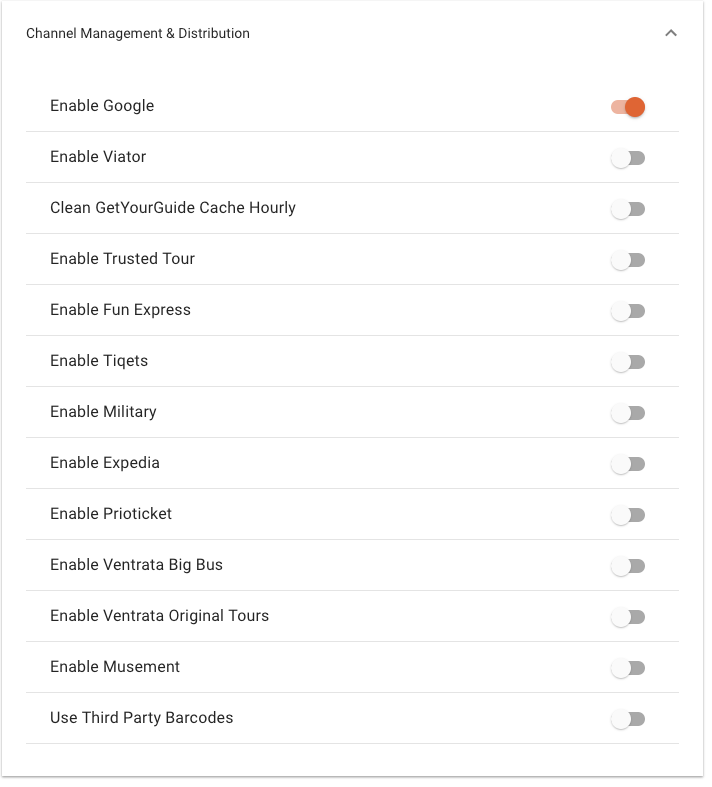
CHANNEL MANAGEMENT & DISTRIBUTION – Using the toggle buttons, switch on the options that you wish to activate or deactivate. In order to fully activate this API channel you will need to work with Encore team to set this up. You must also already have an account set up with the OTA Partner.
-
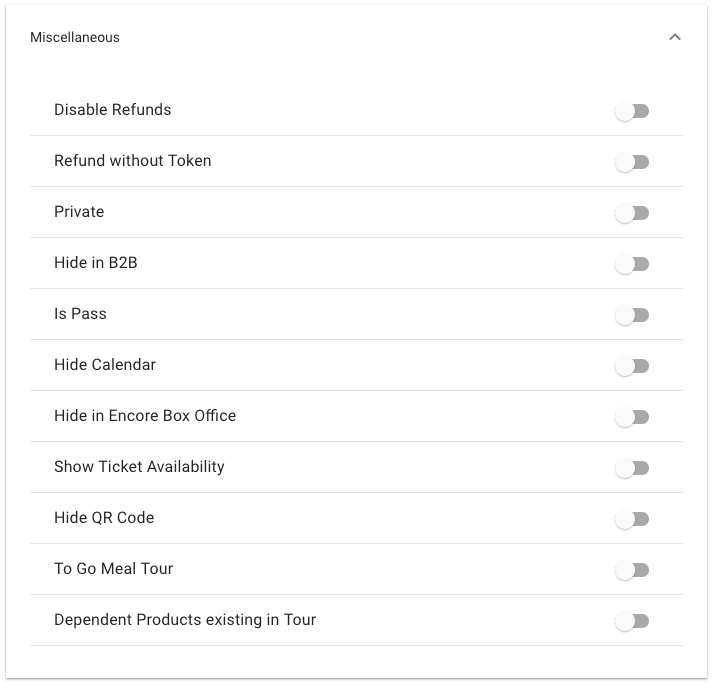
MISCELLANEOUS – Using the toggle buttons, switch on the options that you wish to activate or deactivate.
-
Disable Refunds – This will allow you to disable refunds for this particular product.
-
Refund without Token
-
Private – This will hide the experience page and booking calendar from the website.
-
Hide in B2B – This will hide the product in the B2B portal.
-
Is Pass
-
Hide Calendar – This will hide the Booking Calendar widget from the Tour page on the website.
-
Hide in Encore Box Office – This will hide the product from sale in the Anchor Box Office.
-
Show Ticket Availability – This will show the available tickets on the calendar.
-
Hide QR Code – This will to hide the QR code from the email confirmation.
-
To Go Meal Tour – If the product is a “to-go” meal box you will switch this on.
-
Dependent Products existing in Tour
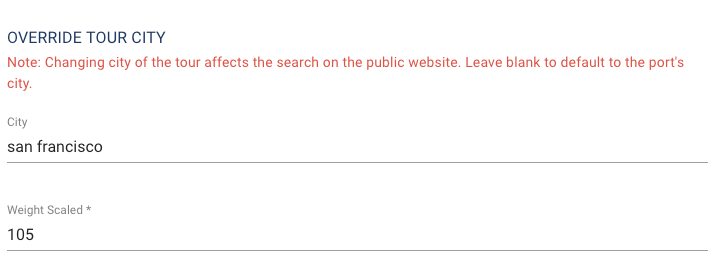
OVERRIDE TOUR CITY SECTION
-
City – Leave as default This would override the city in which the tour pulls on the site and also impacts B2B/API availability
-
Weight Scaled – Use a scale of 1 – 100. This is how you can prioritize the order that your product appear on the WordPress site. The higher numbers will show first on the page and in carousels.
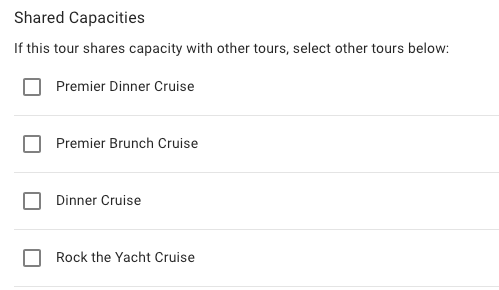
SHARED CAPACITIES
Optional – If this Experience shares capacities with other Tours/Experiences, you can select it here. It will share capacity for all connected events at the same date/time.
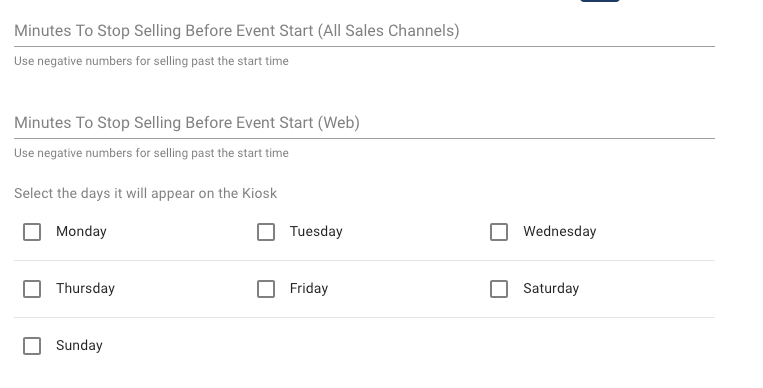
MINUTES TO STOP SALES
-
If you wish to add setting on when to stop selling tickets on different channel for this Experience, you can add the time in minutes in the fields shown below for All Channels or for Web.
SELL ON ADDITIONAL SITES
-
The Web Developer will add any Permalinks to this area.
-
Click SAVE when you are finished.
-